
 English
 Español
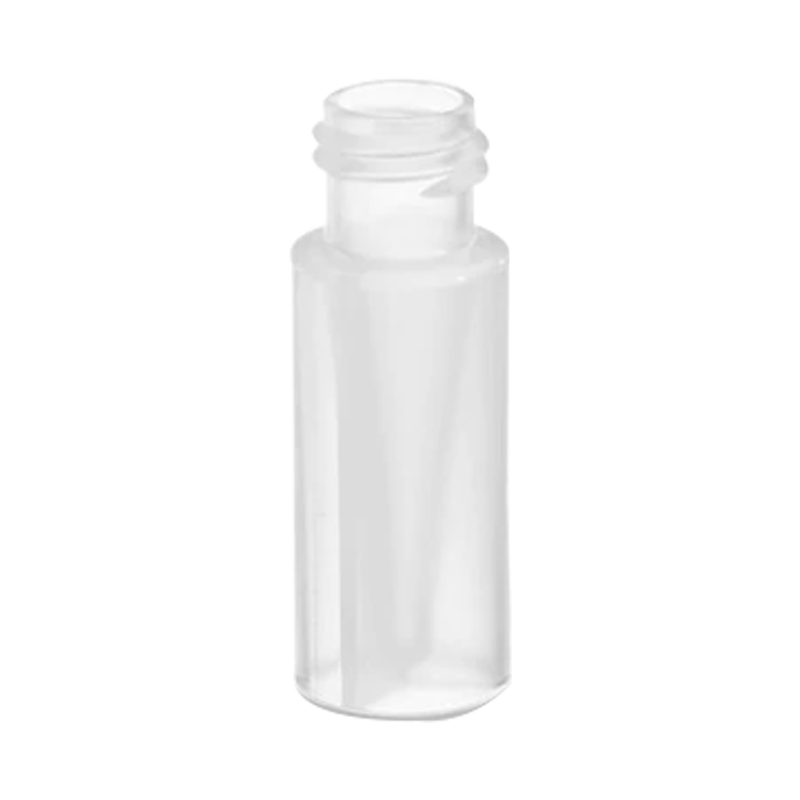
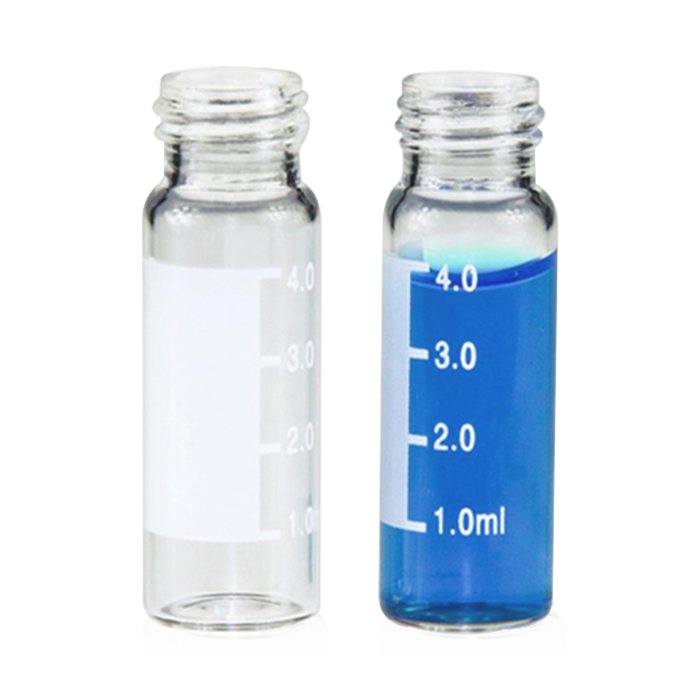
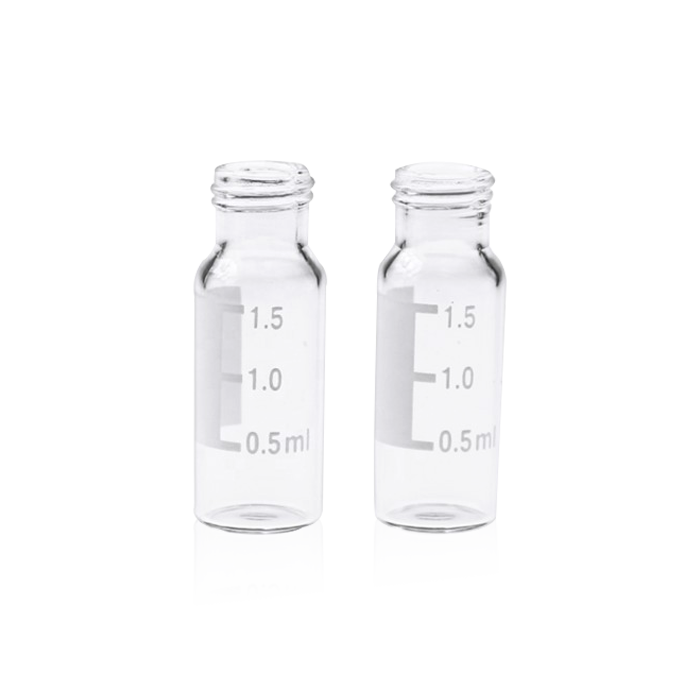
Vial con cuello de rosca HPS de 300 µL de 12 x 32 mm
Diseñados por bioanalistas de LC-MS para bioanalistas de LC-MS, los viales QuanRecovery con MaxPeak HPS reducen las pérdidas de péptidos y proteínas debidas a interacciones iónicas y enlaces no específicos. Una reducción de estas pérdidas conduce a una mayor recuperación, sensibilidad y repetibilidad en los resultados analíticos. Estos viales de 300 µl están preparados para el muestreador automático LC-MS, con bajos volúmenes residuales para utilizar completamente los bajos volúmenes de muestra. Las superficies de alto rendimiento MaxPeak son tecnologías nuevas e innovadoras diseñadas para aumentar la recuperación, la sensibilidad y la reproducibilidad del analito al minimizar las interacciones analito/superficie que pueden provocar pérdidas de muestras.
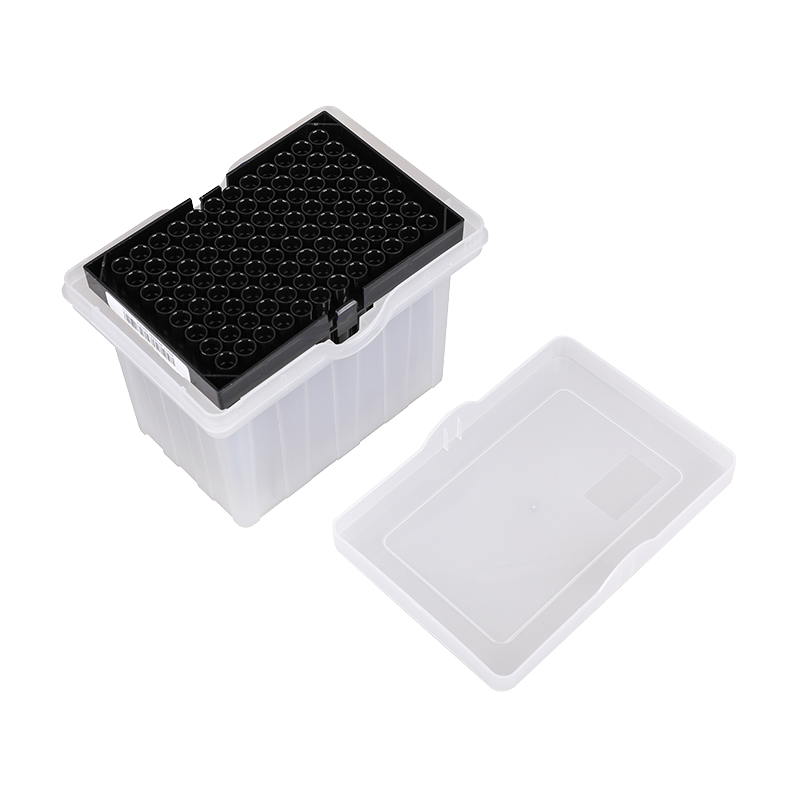
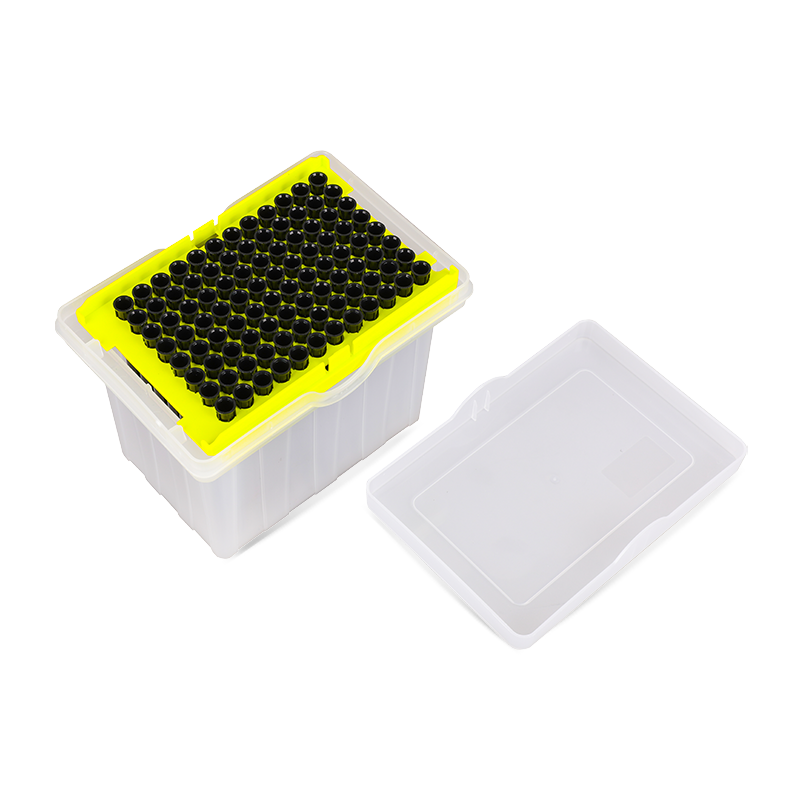
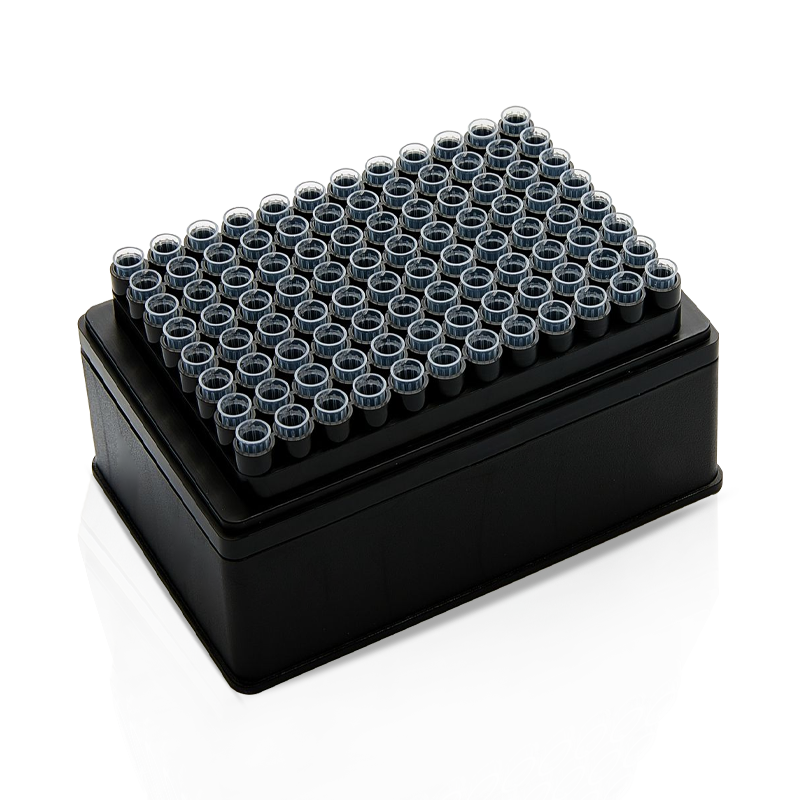
QuanRecovery con MaxPeak HPS Vial de cuello de rosca de 12 x 32 mm, 300 µL, 100/paq.
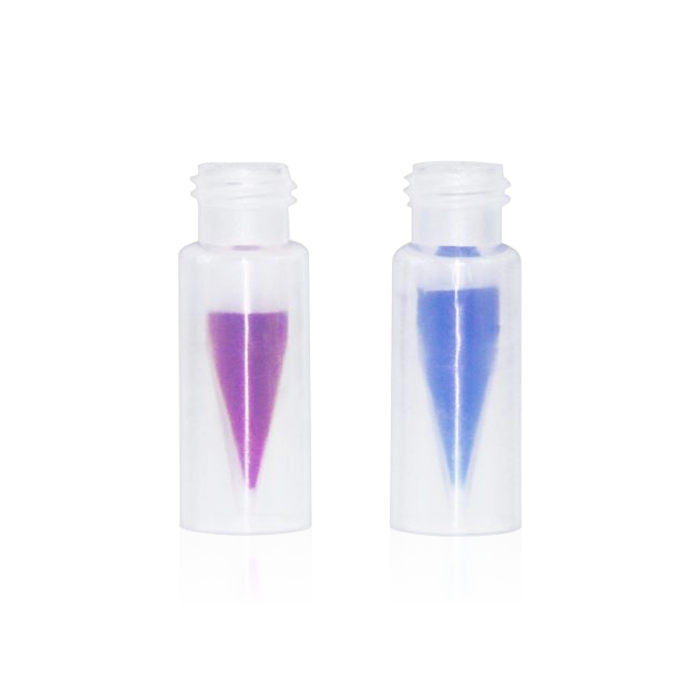
El QuanRecovery con MaxPeak HPS Screw Neck Vial fue diseñado para reducir cualquier pérdida de péptidos y proteínas en su muestra debido a interacciones iónicas y enlaces no específicos. Debido a la reducción de pérdidas, obtendrá una mayor recuperación, reproducibilidad y sensibilidad en sus resultados analíticos. Esto es diferente de los recipientes y viales tradicionales de vidrio o polipropileno, ya que adsorben biomoléculas a través de interacciones iónicas o hidrofóbicas. Como estos viales fueron diseñados por científicos de LC-MS para bioanalistas y científicos de LC-MS, puede estar seguro de que el equipo cumplirá con todos los requisitos de sus experimentos y desafíos analíticos con facilidad. También permite a los científicos ejecutar pruebas altamente desafiantes y sensibles sin temor o preocupación por las pérdidas en la etapa del flujo de trabajo.
El QuanRecovery con viales de cuello roscado MaxPeak HPS está preparado para el muestreador automático LS-MS, con un volumen residual bajo para aprovechar al máximo los volúmenes de muestra bajos. Esto le permitirá obtener volúmenes máximos de inyección incluso de muestras de bajo volumen. Este vial específico tiene una capacidad de 300 µL de volumen y se envía con 100 por paquete.


 Contact Us
